Ceiling fans are a practical and stylish addition to any home, providing cooling comfort and enhancing the look of your space. Whether you need to replace an old ceiling fan or want to have a new one, the process involves careful planning and execution. This guide will walk you through the installation process, ensuring a safe and successful result.

Why Install a Ceiling Fan in Your Home?
Ceiling fans are a great way to improve air circulation, reduce energy costs, and add a functional light fixture to your room. With various types available, you can choose the one that suits your space and style. Let’s dive into the steps involved in replacing or installing a ceiling fan.
Tools and Materials Needed for Ceiling Fan Installation
Before you begin, gather the following:
- New ceiling fan (with light kit, if desired)
- Electrical box rated for a ceiling fan
- Screwdriver and drill
- Wire connectors
- Ceiling medallion (optional)
- Ladder
- Voltage tester
- Manufacturer’s instructions for installation
Steps to Replace or Install a Ceiling Fan
1. Remove the Old Fan
- Turn off the power at the circuit breaker.
- Use a voltage tester to ensure no electricity flows to the existing fan.
- Carefully detach the old fan from the ceiling box by unscrewing the mounting hardware.
- Disconnect the wires from the fan and remove the ceiling plate.
2. Prepare the Ceiling for the New Fan
- Inspect the existing electrical box to ensure it’s rated for a fan. If it’s not, you’ll need to install a new box that can support the weight and movement of the fan.
- Secure the new box to a ceiling joist or use a fan-rated brace bar for stability.
3. Assemble the New Ceiling Fan
- Follow the manufacturer’s instructions for assembling the fan blades, light kit, and fan motor.
- Attach the fan blades to the motor, ensuring they are secure and evenly spaced.
4. Hang the Fan and Connect the Wires
- Carefully lift the fan assembly and hang the fan on the hook provided on the mounting bracket. This will support the fan while you complete the wiring.
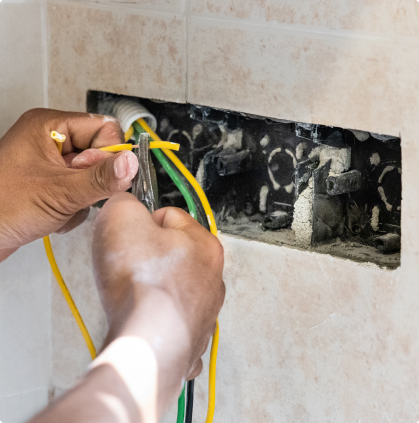
- Connect the wires from the fan to the wires in the ceiling box, matching colors: black to black, white to white, and green to ground. Use wire connectors to secure the connections.
5. Secure the Fan to the Ceiling
- Attach the fan to the mounting bracket and secure it in place.
- Install the ceiling plate and firmly attach the fan to avoid wobbling.
6. Install the Light Fixture and Bulbs
- If your fan includes a light kit, connect the wiring to the fan motor following the instructions.
- Attach the light kit to the fan and install the light bulbs.
7. Test the Fan and Light
- Turn the power back on at the circuit breaker.
- Test the fan speed, light fixture, and any additional features like remote control fan settings or wall switches.
Tips for Installing Ceiling Fans
- Choose the Right Type of Fan: Select a fan size and style suitable for the room. Larger rooms require larger fan blades to circulate air effectively.
- Consider Installation Costs: Hiring a professional fan installer like Lightning Bult ensures safety and compliance with electrical work regulations.
- Follow Safety Guidelines: Always turn off power before starting electrical work and use tools correctly.
When to Call an Electrician to Install a Ceiling Fan

If you’re unsure about the electrical work involved in installing a ceiling fan or need to install a new electrical box, it’s best to contact a licensed electrician. At Lightning Bult, we handle installations for homes in Northern Beaches, North Shore, and surrounding areas.
Why Ceiling Fans Are a Great Investment
Ceiling fans enhance comfort, save energy, and add a decorative touch to your home. Whether you’re installing a brand-new fan or replacing an old ceiling fan, the right fan can make a big difference.
Need Professional Ceiling Fan Installation?
If you want to install a ceiling fan or replace an old one, Lightning Bult’s expert electricians are here to help. We handle everything from electrical ceiling box installation to fan wiring, ensuring your new fan is safe and functional.
Locations we serve:
Contact us today to schedule your installation in Northern Beaches, North Shore, or surrounding areas. Let us help you upgrade your space with a high-quality one for your home!


